For his laureling, I made 五代勝長先生の陣羽織 (Master Godai Katsunaga’s jinbaori). The overall pattern and placement of the laurel wreathes mirror this late Muromachi era (1336–1573) 陣羽織, which has the 紋 (mon) centered large on the back and then smaller on each side of the chest.
Background
The 陣羽織 below is made using 切り嵌め (kirihame) piecing, where wool is cut and pieced, with nearly invisible stitching holding the pieces together. It’s only possible with felted or well-fulled wool, since that will resist fraying. Consequently, it reached Japan relatively late, with the European introduction of woolen goods to Japan.

Because silk or linen (ie. not wool) were specifically requested, piecing was not an option for me. 切り嵌め is an umbrella term that includes both piecing and appliqué (In Pursuit of Beauty: Americans and the Aesthetic Movement). This 陣羽織 worn by Kobayakawa Hideaki in the Momoyama era (1574–1600) shows both types of 切り嵌め. The white blades are pieced, while the black handles are appliquéd (Foley, Valerie. The Jinbaori: Oneupsmanship on the Battlefield).
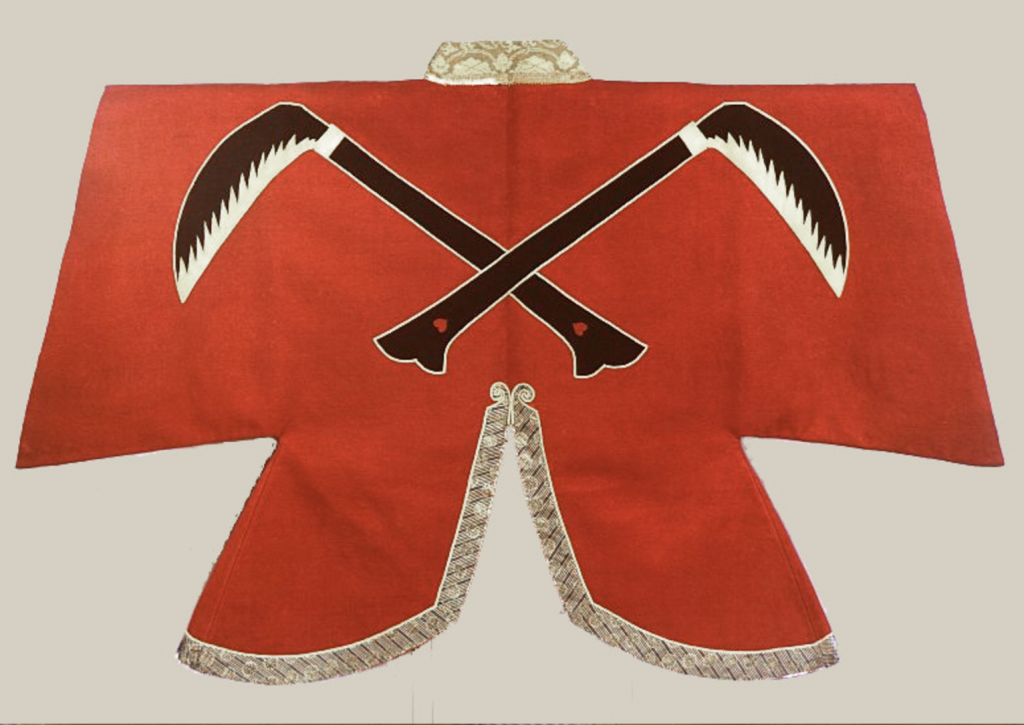
This one
The 陣羽織 for 五代先生 (Master Godai) is made from black silk taffeta. A remnant length of coarse raw silk, dyed gold, was available from the same merchant, so I used that for the appliqué.
To start off, it’s a very basic rectangular construction like the black and white one above. The arm holes are very large, to allow room for the 着物 (kimono—fun fact: it literally means “wearing thing”) sleeves. 着物 are also just a bunch of rectangles. The edges are bound with the contrasting gold silk.
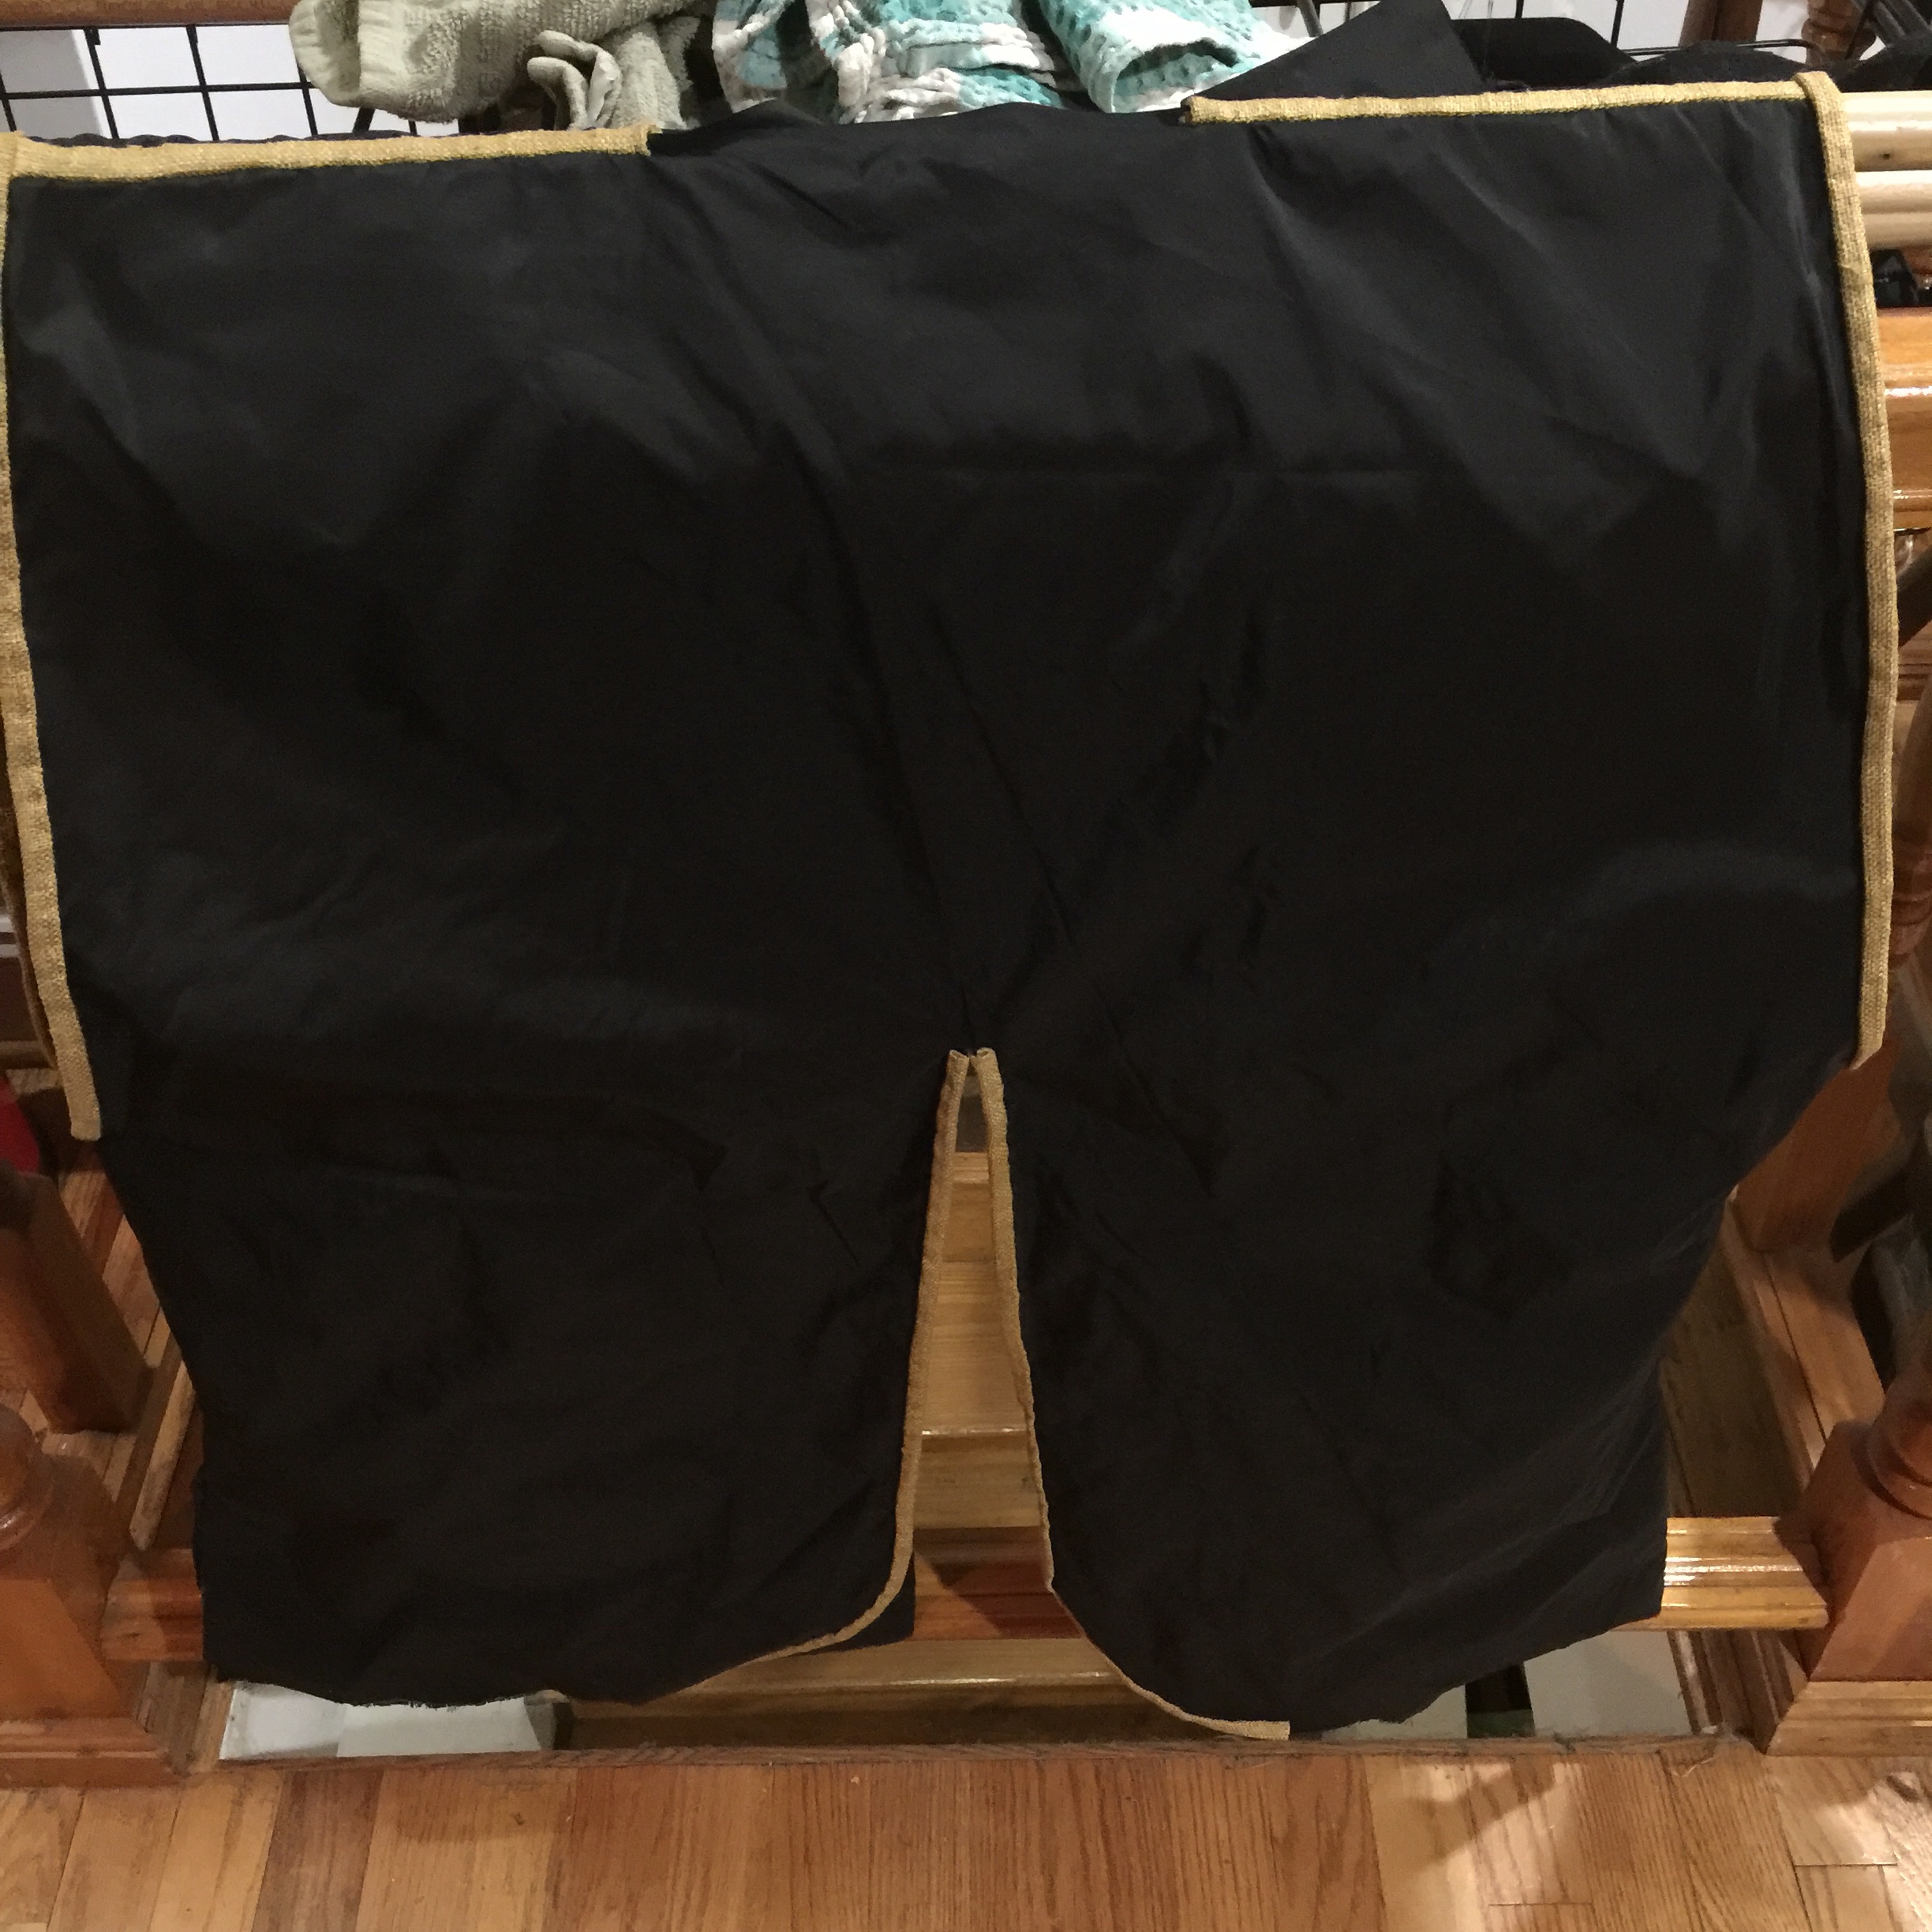
Oh, and I misplaced the remaining yard of black silk. I’m not sure it made it home from Pennsic. I finished the back of the collar using several layers of a lighter weight black silk from my stash. I stitched it using 刺子 (sashiko—many rows of running stitches), a technique used for repair, ornamentation, and for stiffening. 刺子 has ample use in this period on other garments. Because I could not find any examples of 刺子 used as ornamentation on a 陣羽織, I used black thread on black fabric.
For the appliqué, I used a technique found in 16th century Europe. According to Janet Arnold’s Patterns of Fashion (pg 111), an extant loose gown has appliqué done by first mounting fabric onto glue. Meg Vaughan noticed this and pointed out that hide glue can be reactivated with heat and steam. I decided to follow her lead, using rag paper and hide glue.
Since extant 陣羽織 already show European influence on textiles in the use of piecing, this seems like a reasonable conjecture.
First, I experimented on a small leaf shape, to ensure I would be able to sew through the fabric, glue, and paper. It’s tough. It takes a good, strong needle, and a thimble wouldn’t go amiss. It’s definitely doable though. Thinner paper may have helped.
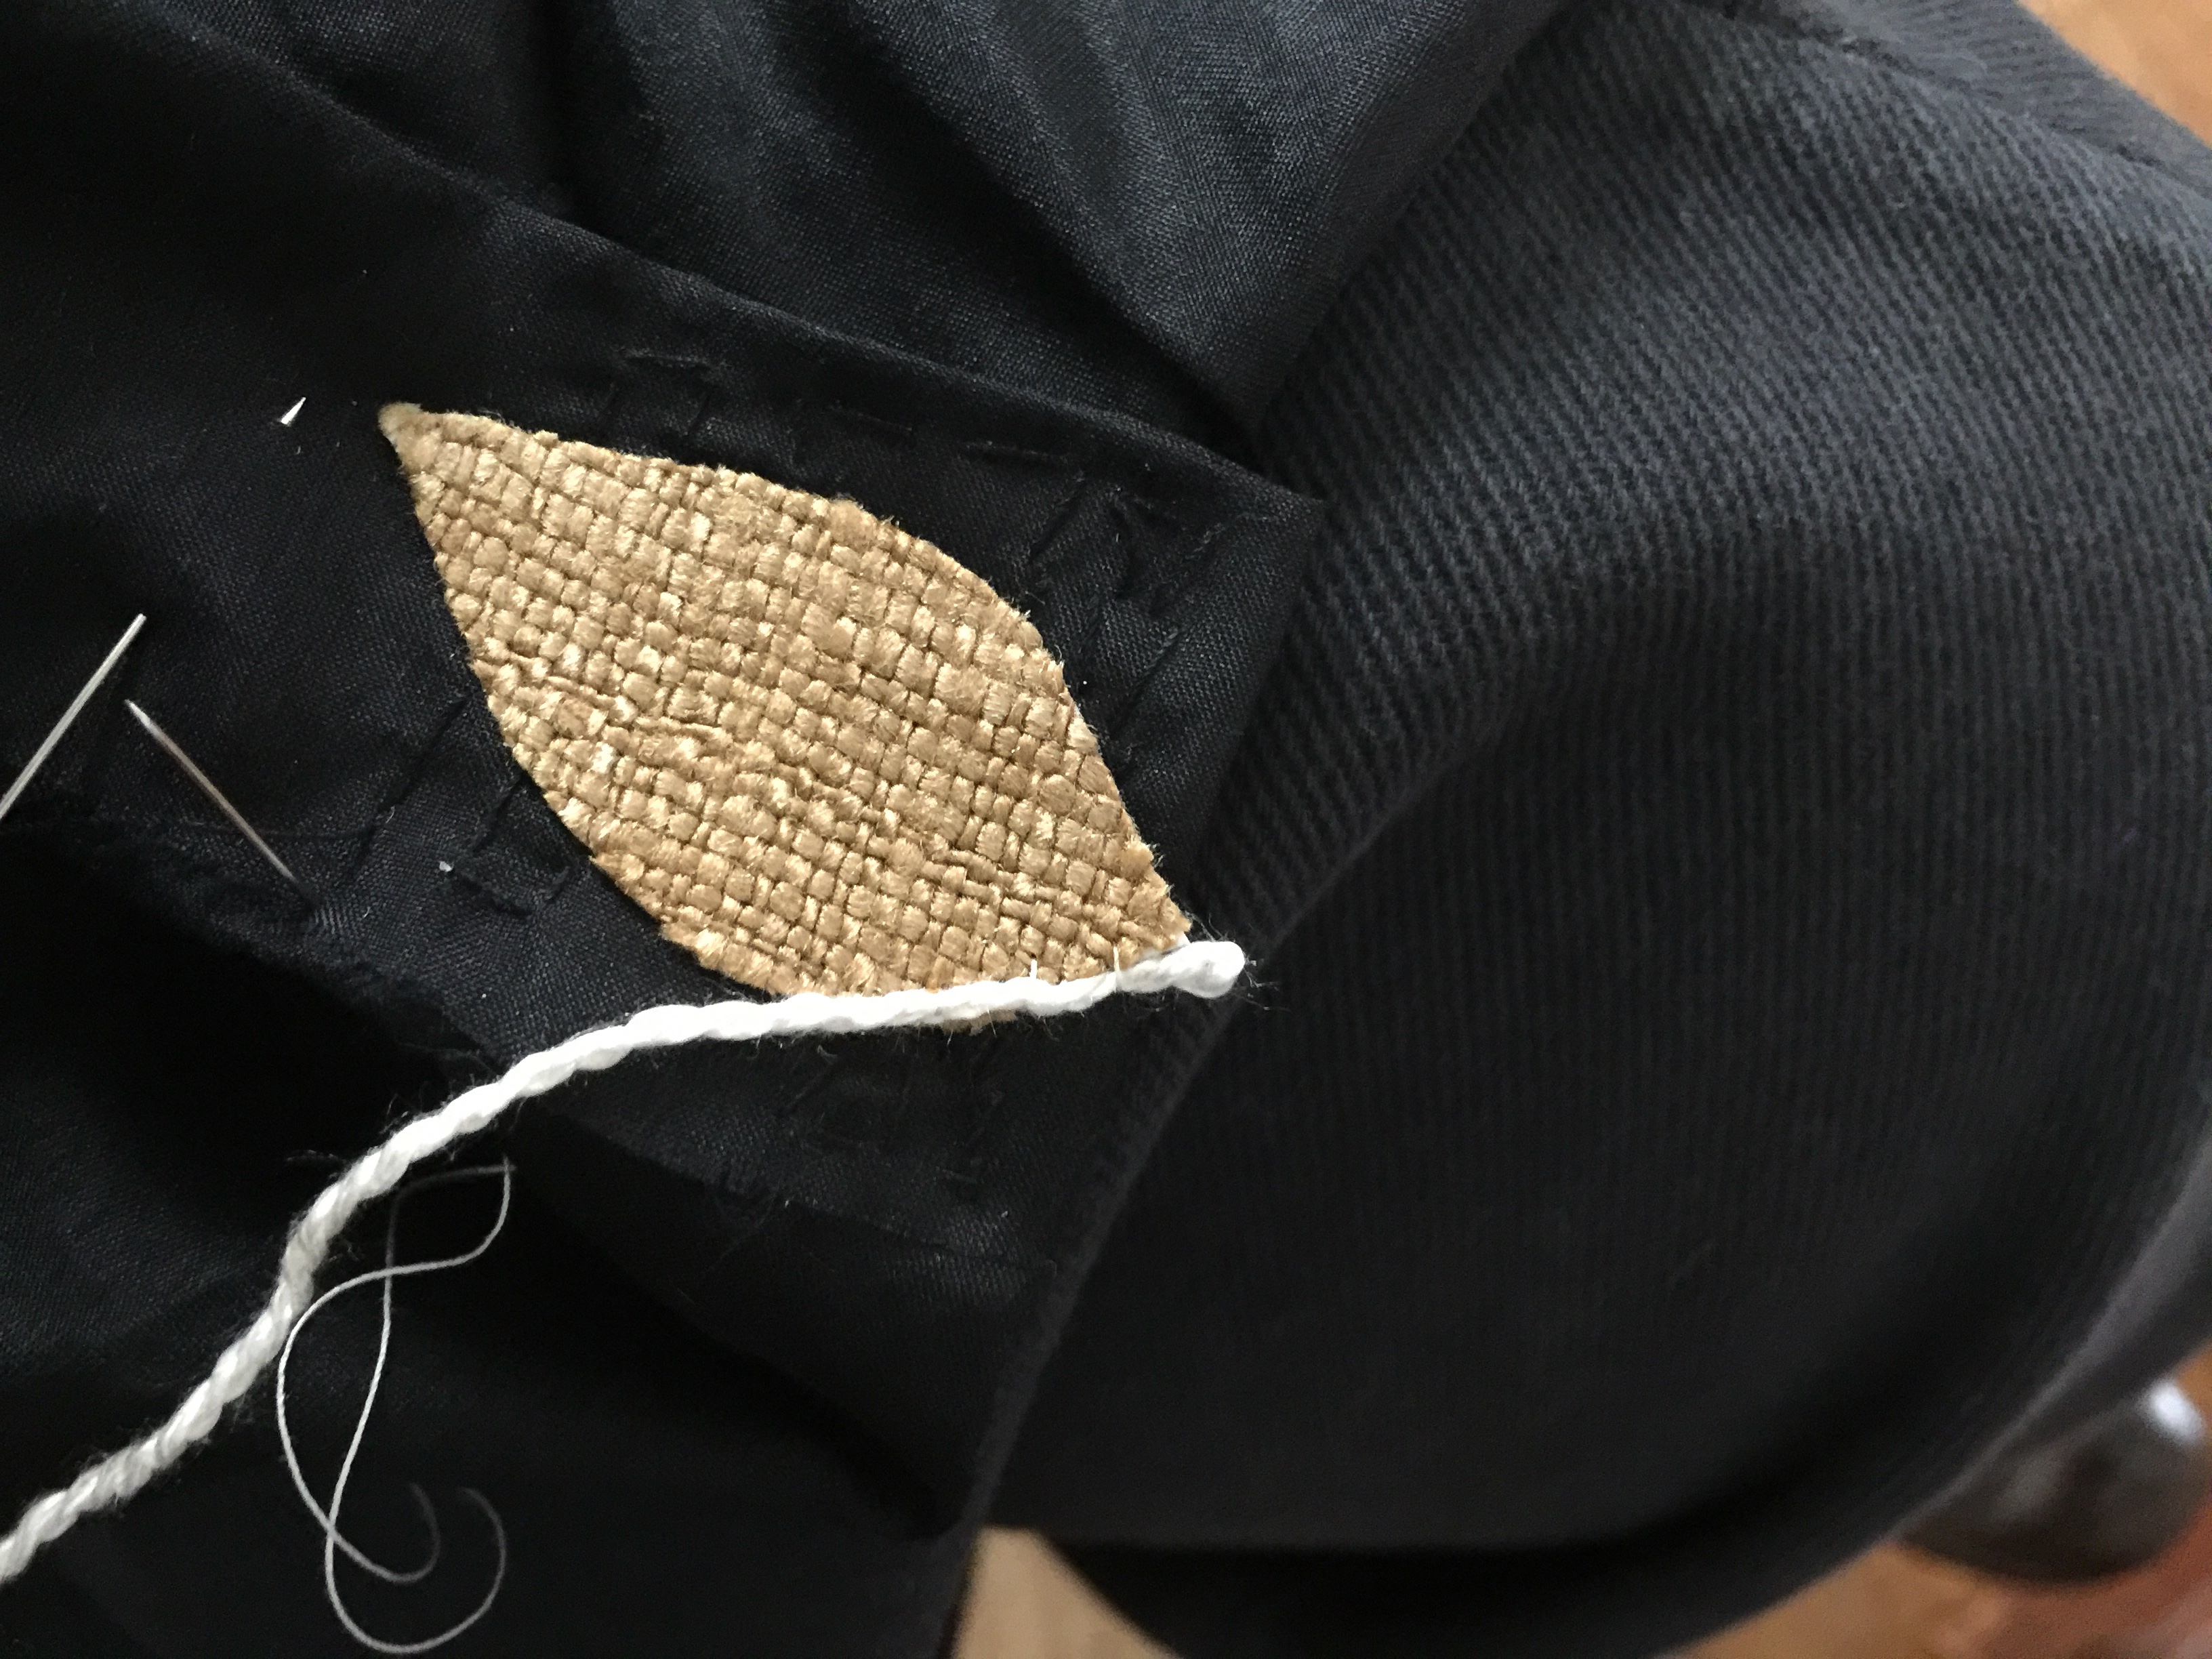
My experiment with using mulberry paper was an abysmal failure. I put way too much glue on for the thickness of paper, and my basement craft room’s humidity level was “standing water,” so I should’ve expected trouble. It didn’t even dry to tacky. It was stringy like taffy. It was bad.
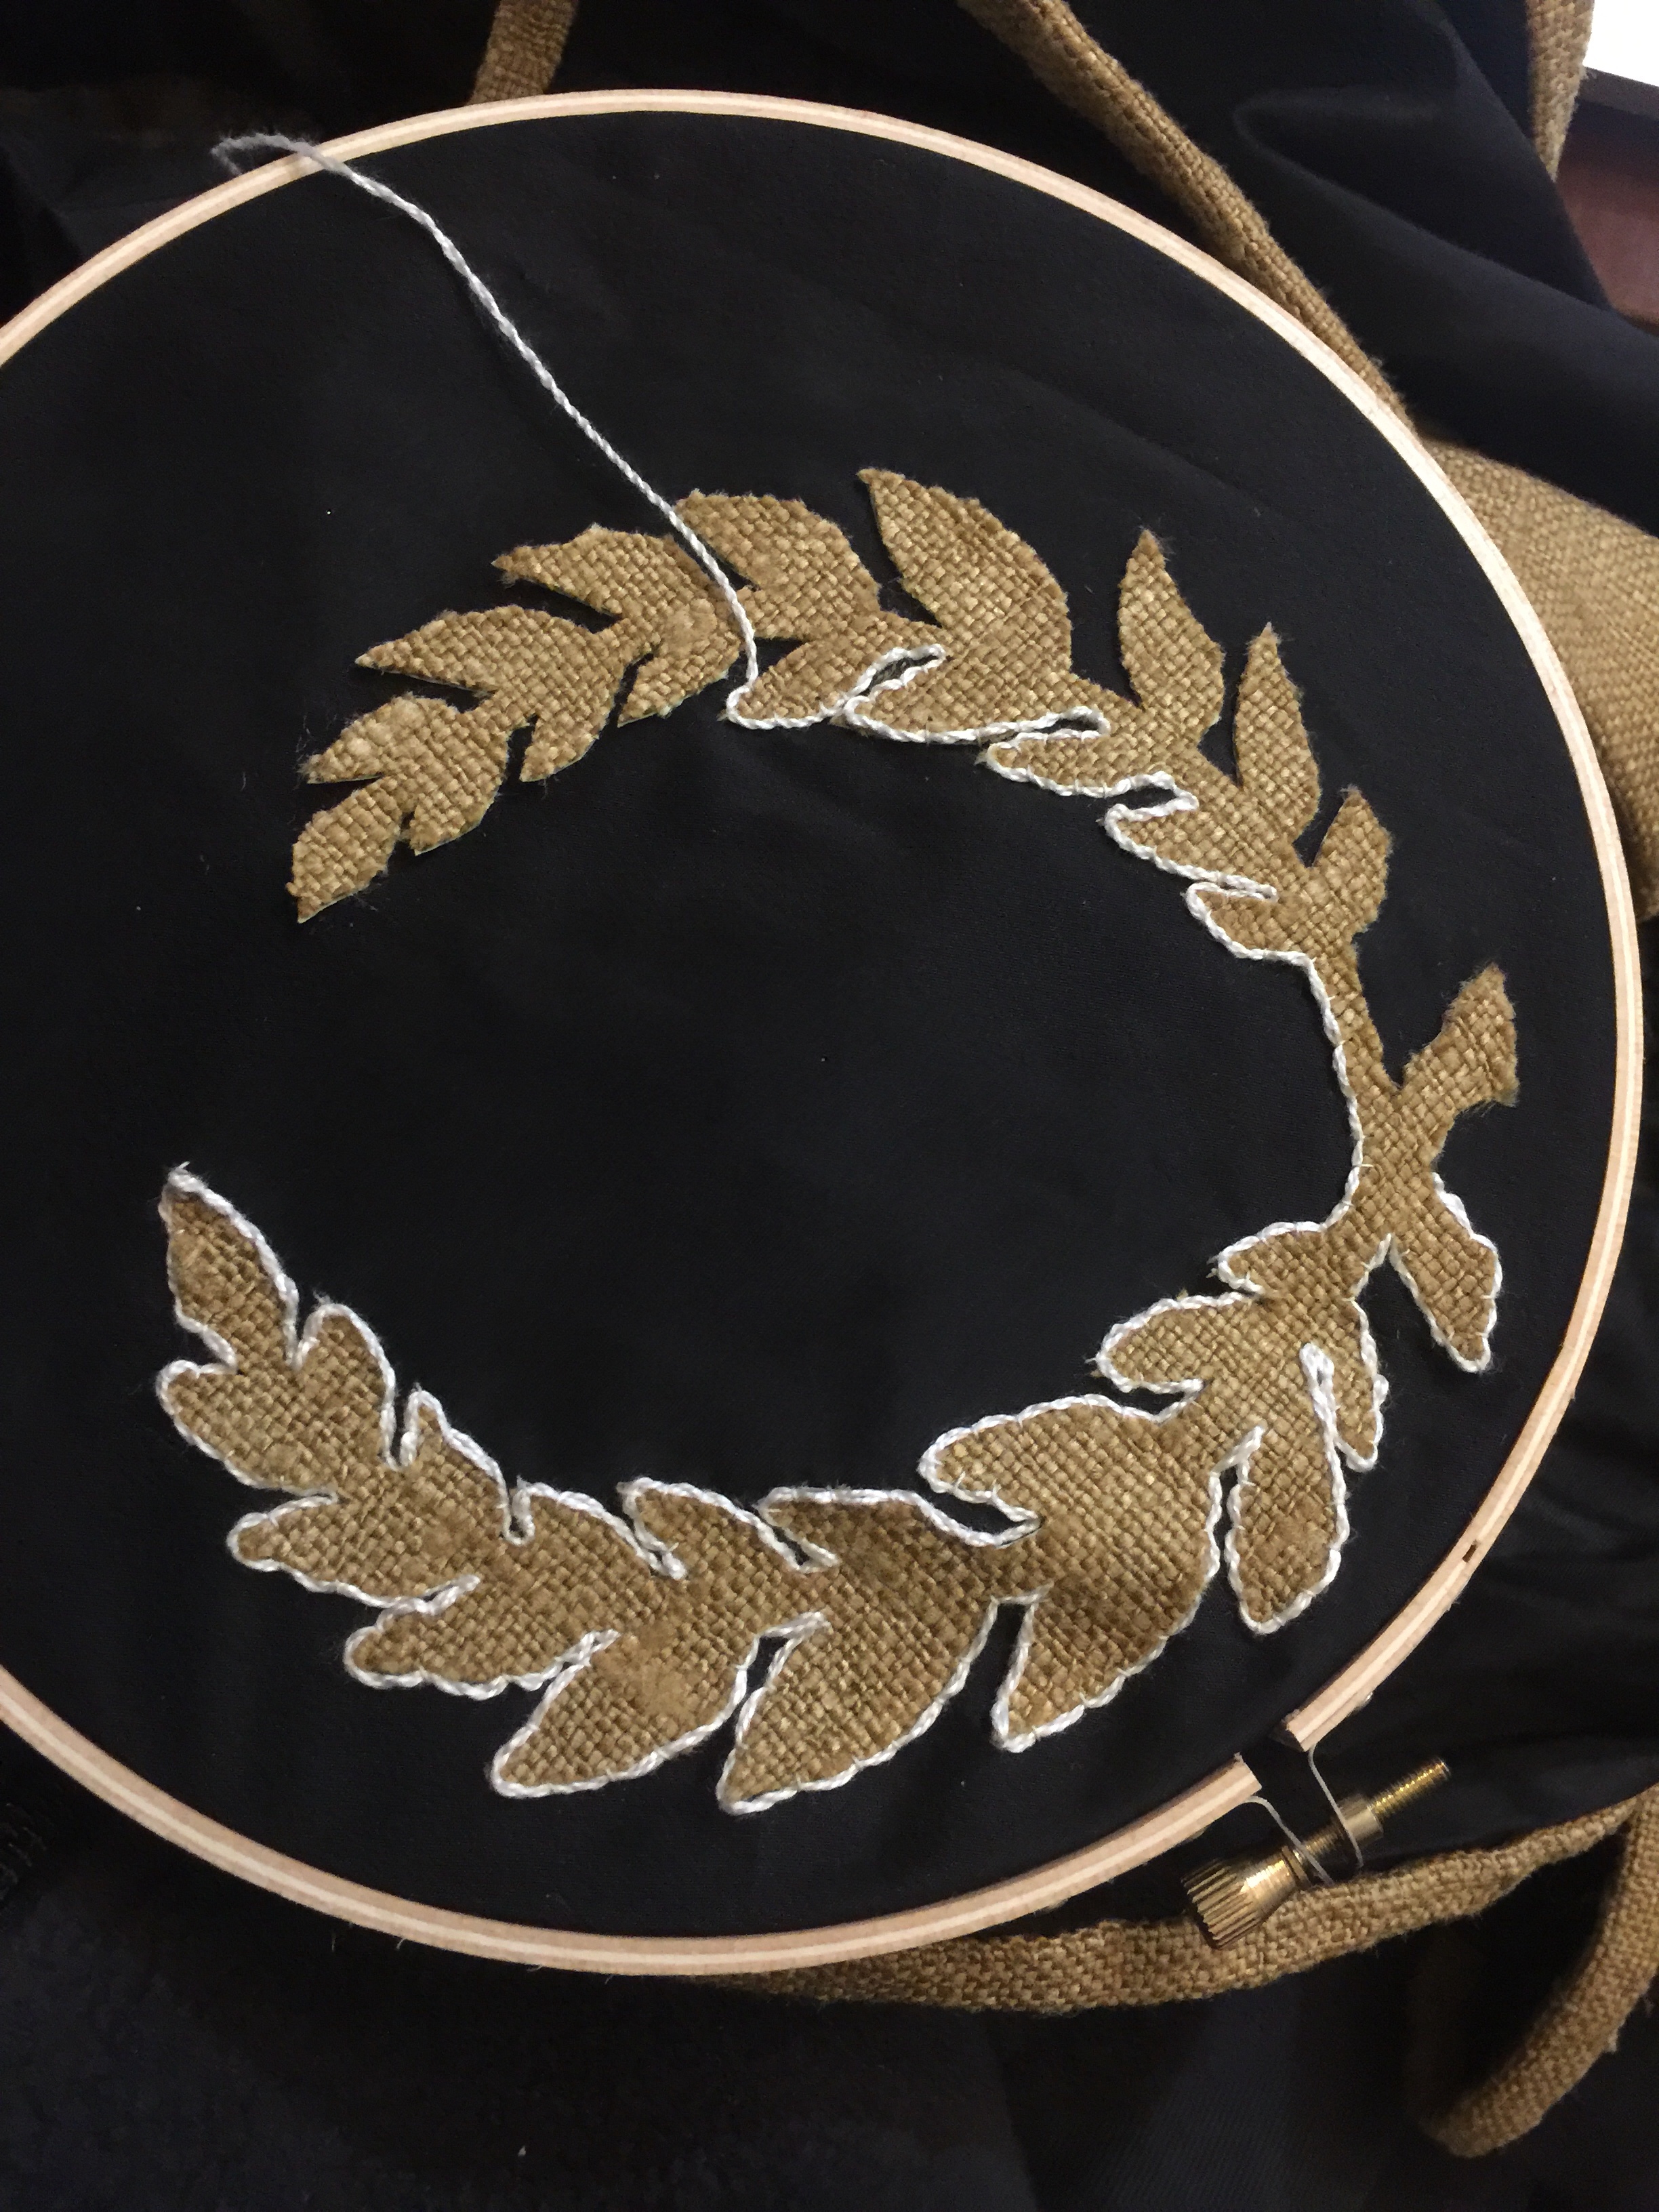
I went back to the rag paper
First, I traced laurel leaves onto the paper. I glued the fabric to the back of that. After everything was dry, I painted glue on the drawing side, and let it dry too. Finally, I cut out the dry now-gummed laurel wreathes and ironed them in place.
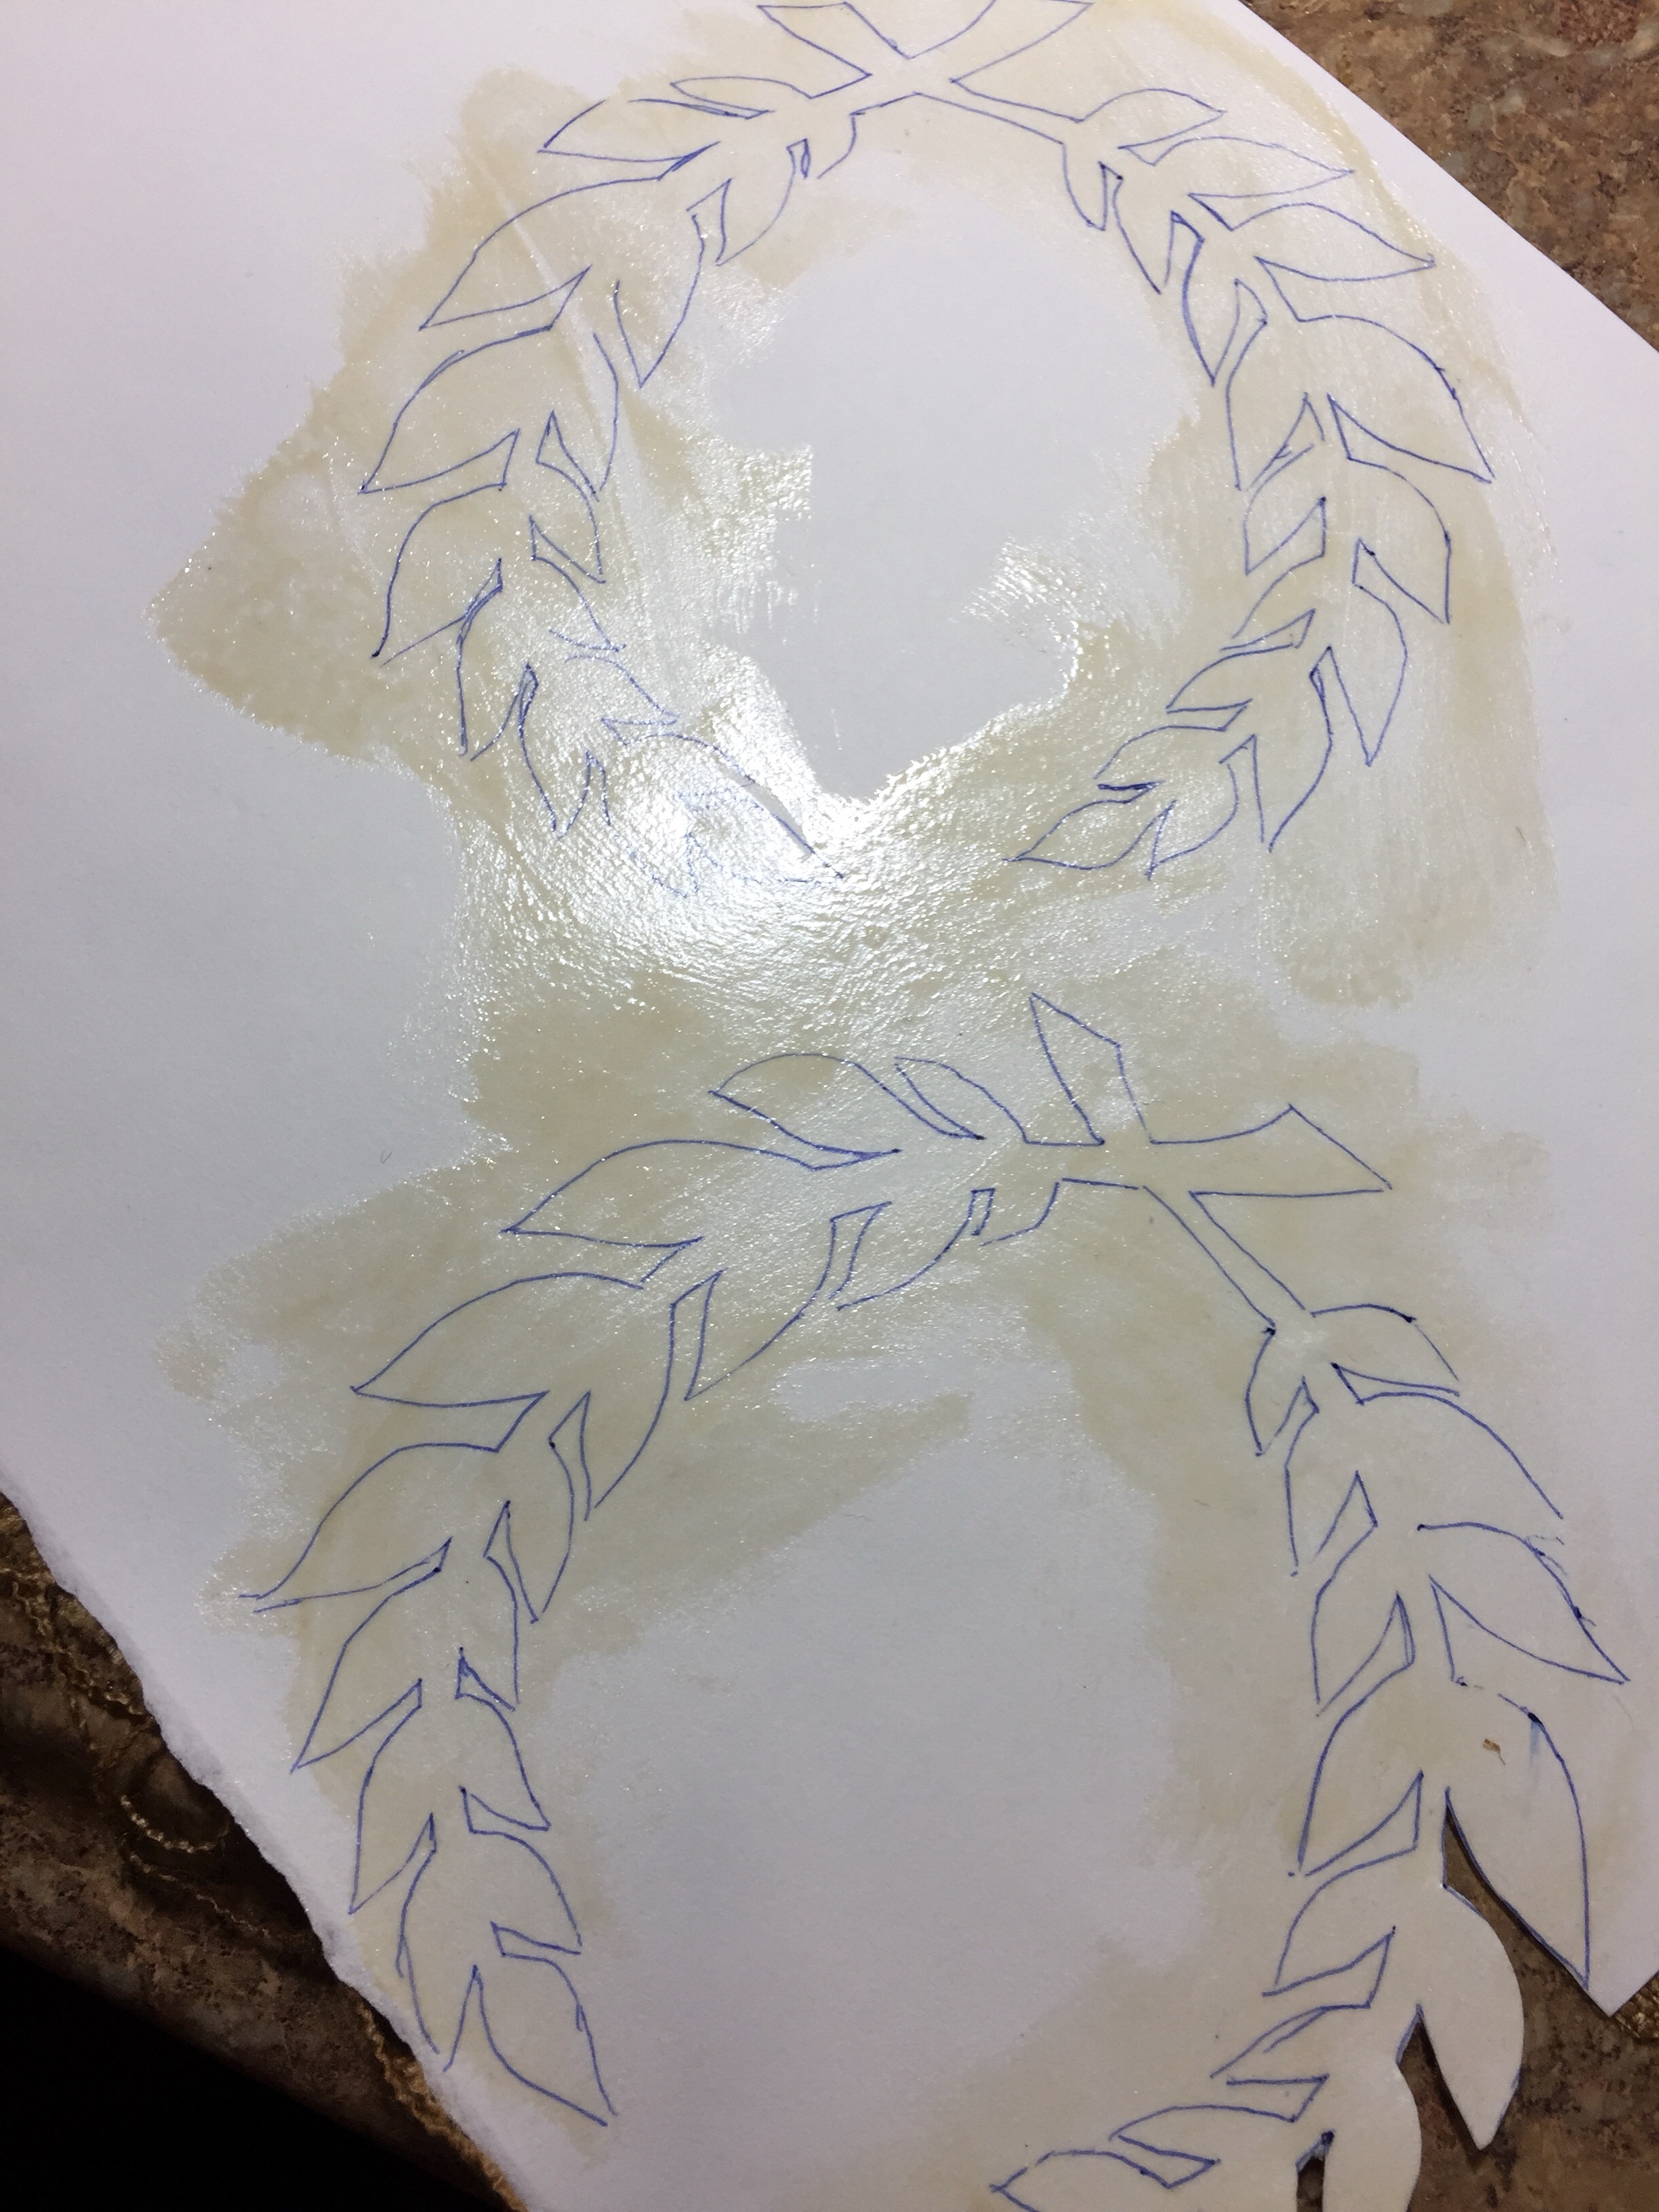
I am not good at timing. This mistake with the glue was overnight, the night before the laureling. I recruited several helpers at the event to get the 陣羽織 ready to wear.
The day of the laureling, we worked without embroidery hoops because I’ve never done appliqué before and didn’t know better. The humidity caused the glue to begin to unstick, so the laurels were a little uneven. As of the laureling, the trim was all in place, but only half the outlining on the back laurel wreath was done.
After the laureling ceremony, I took the 陣羽織 home to complete and return at a later event. I adjusted the not-quite-even laurel wreath on the back and we used embroidery hoops for the rest. I’m still bad at timing, so at that later event, Lady Challys proved she is very skilled with a needle, as she and I worked simultaneously on different laurel wreathes.
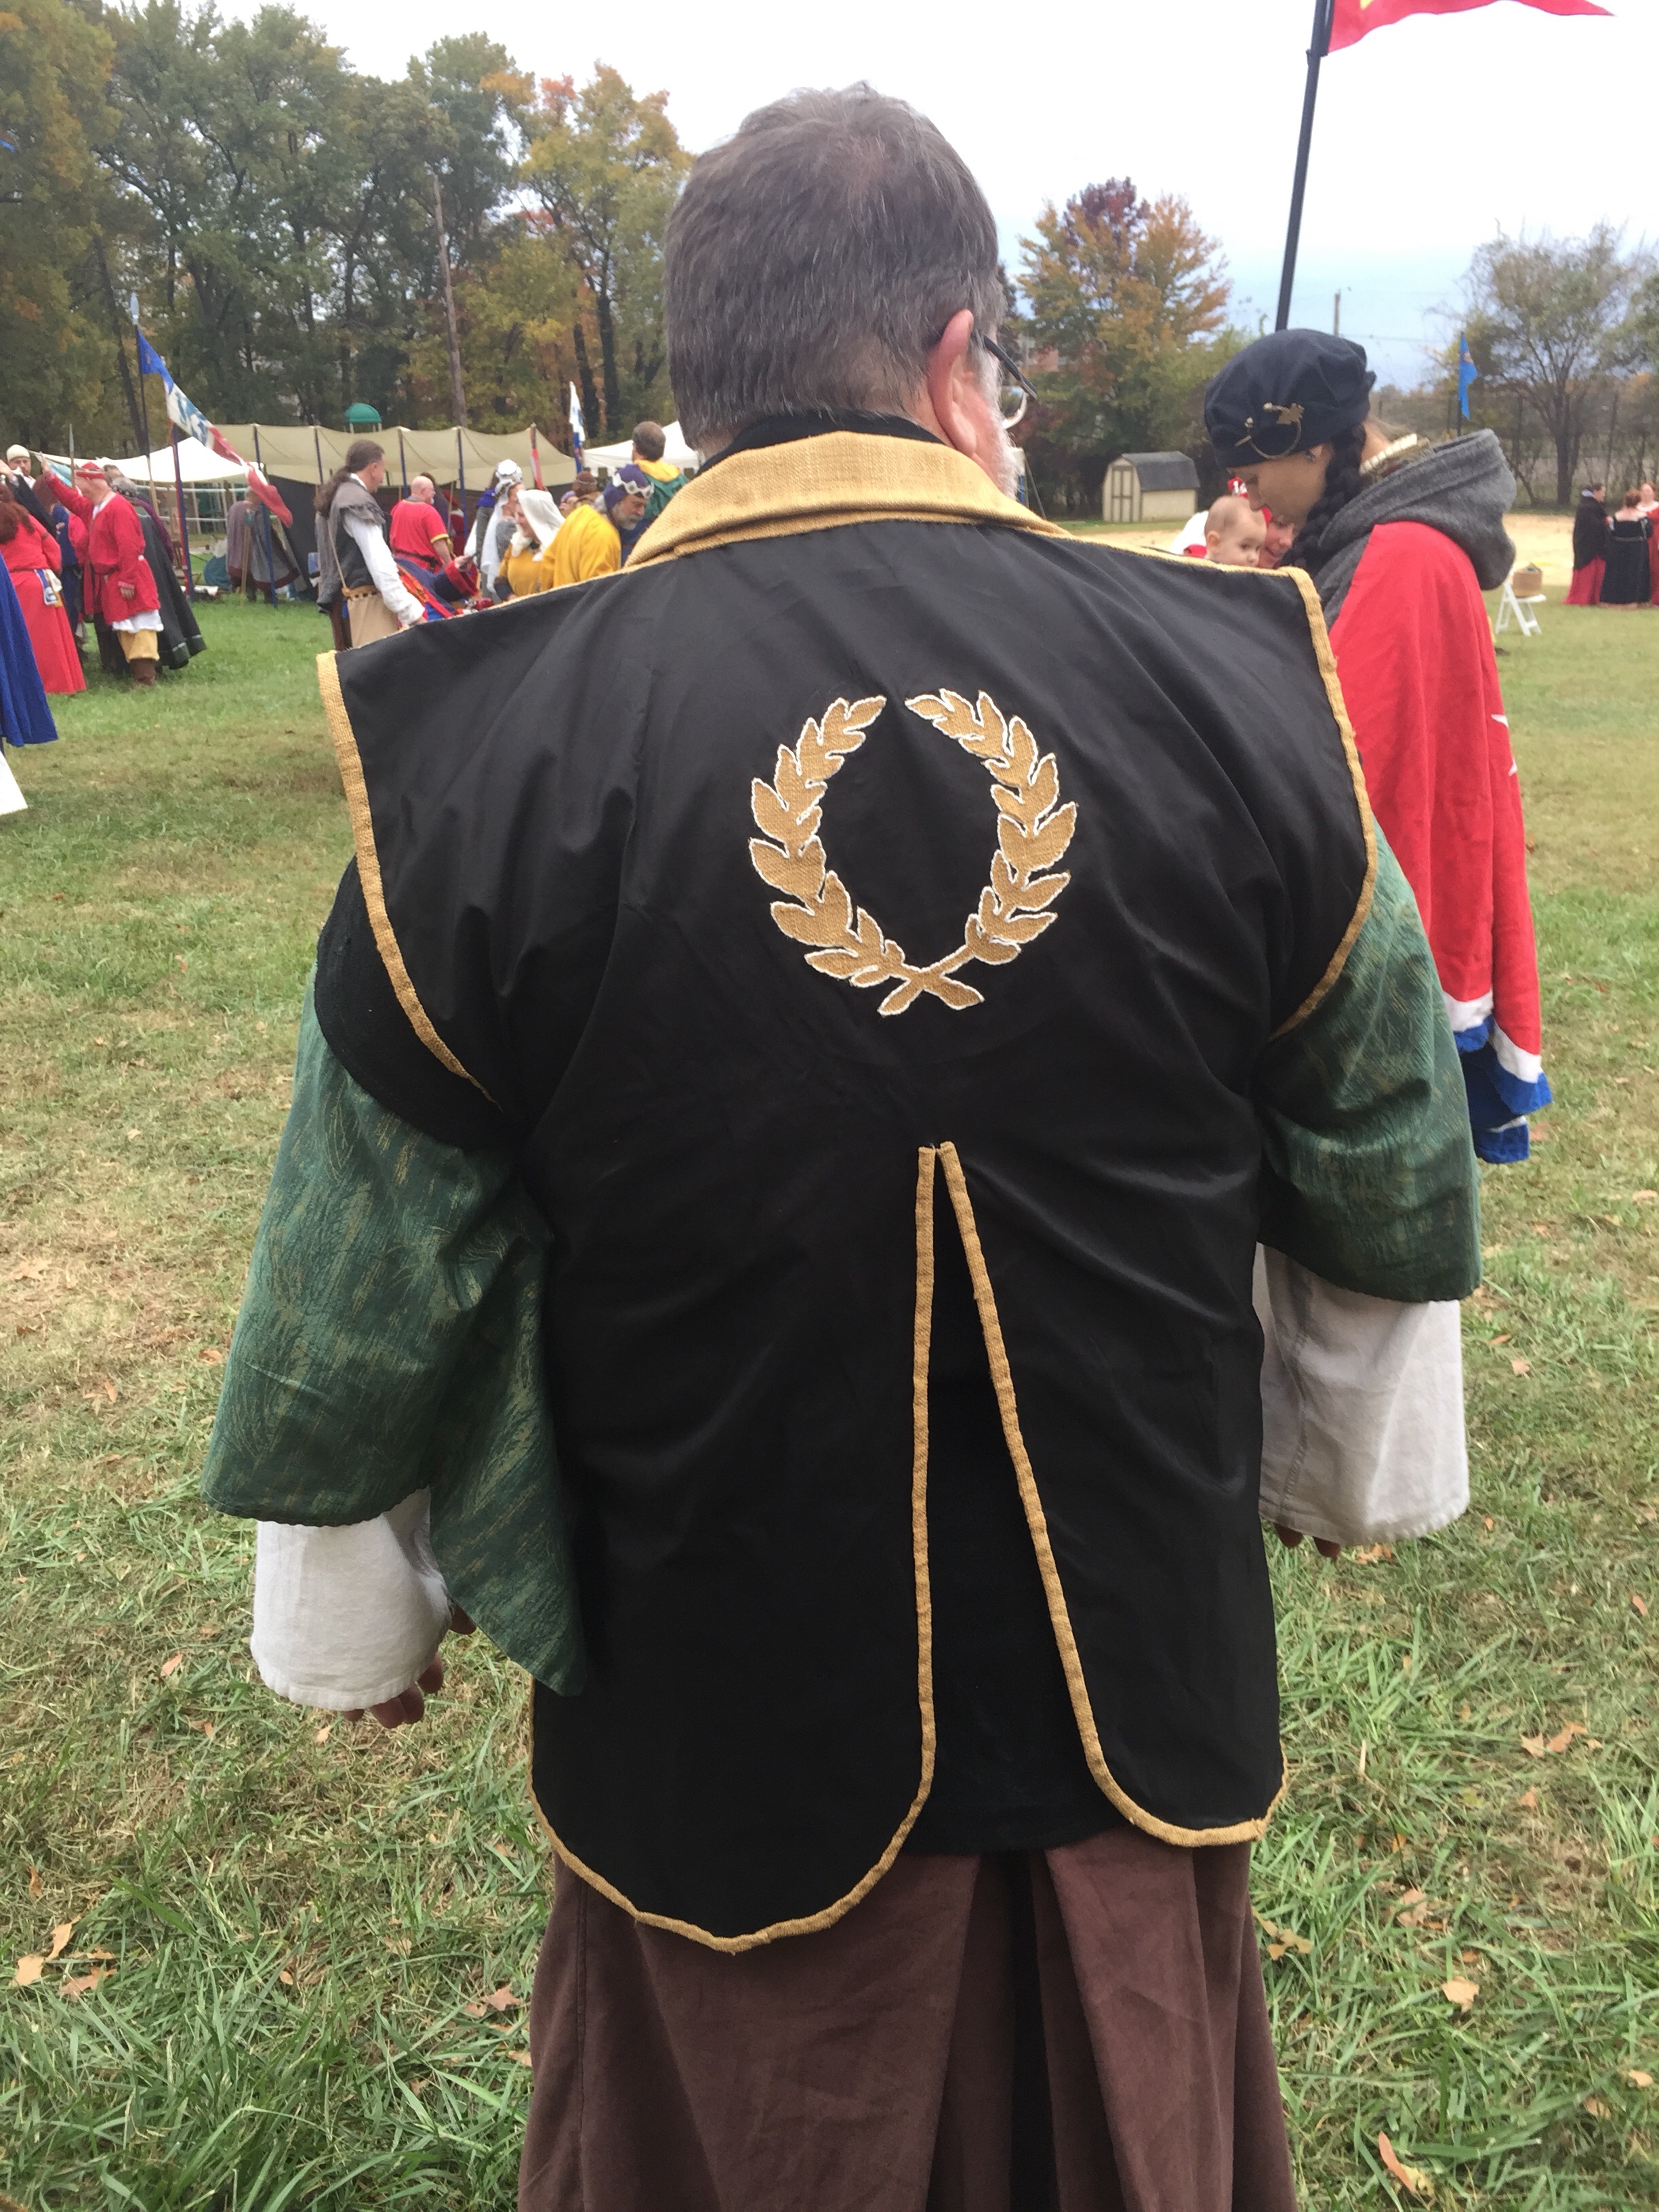
五代先生 finally got to model it with all its bits in place. Ok, almost all. It seems not necessarily every extant one has a strap across the chest, but enough do that he wants one to be added.

Thanks to my many helpers:
- Baroness Janina Krakowska
- Maestra Ragnveig Snorradottir
- Lady Alicia Fansmith
- 金森立つ目さま (Lady Tatsume)
- Mistress Brienna Lindsay
- Mistress Elien Rosamund
- Lady Challys of Greenlion Bay
…and anyone else I forgot. If I forgot you, tell me.
What I learned
I learned I should always use an embroidery hoop when doing appliqué. This was my first time doing it.
I learned I should prepare my iron-ons several days in advance in case of glue screw-ups.
I learned taffeta frays horribly. I bought Fray-Check for the first time since age 14.
I learned Fray-Check will stay in fabric past when the dye starts coming out. Thankfully, that little drop was behind a spot that was covered by the appliqué.
Some time after the laureling and before the second event, I realized the trim should go all the way along the back, not stop at the collar. I corrected that. Some time after giving it to 五代先生 for good, I realized I was supposed to attach the collar with the seam allowance to the outside so that it would be covered by the trim that goes from shoulder point to shoulder point. Instead, I hid it inside the collar lining. You probably can’t see that, but my brain still knows it’s wrong,
Comments are closed.